


Butterfly Drop Earrings Project Made With Serinity Beads
If you love crafting unique jewellery, this tutorial is perfect for you! Today, we’ll walk you through creating a beautiful pair of handmade earrings with Serinity Crystals that will add a personal touch to your collection. Whether you’re making these for yourself or as a thoughtful gift, this step-by-step guide will ensure a smooth crafting experience.
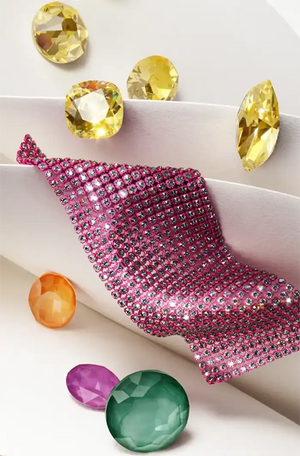
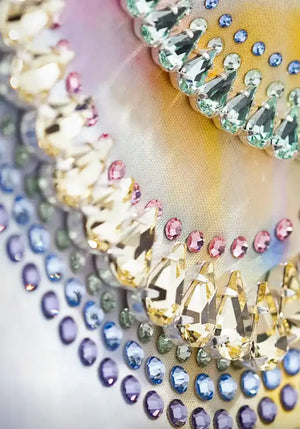
Component List:
The full list of Serinity Crystals, components and tools needed to complete this project can be found below. If you click on the product description (link), the respective product page will open, where each item can be viewed and added to cart:
|
Component
|
Component Name / Link
|
Quantity
|
 |
x 1 | |
 |
x 1 | |
 |
Serinity Crystal Bicone Beads Iris Ab X2 3mm | x 1 |
 |
x 1 | |
 |
Sterling Silver 2” Flat End Head Pin |
x 1
|
 |
Jewellery Pliers Set of 3 |
x 1
|
Instructions
Step 1
Gather Your Supplies
Lay out all your materials on a soft surface like a bead mat to prevent rolling. Ensure you have all the necessary tools and components ready.
Step 2
Thread the Beads
Take a headpin and slide on your beads in the following order - start with one Serinity Crystal Bead (5328) Iris AB 3mm followed by the butterfly-shaped Serinity Crystal Bead (5754) Violet 6mm, add the Serinity Crystal Pearl Bead (5810) Iridescent Dreamy Blue 6mm and finish with another Serinity Crystal Bead (5328) Iris AB 3mm.
Step 3
Create a Loop
Using the round nose pliers, bend the headpin at a 90-degree angle just above the last bead. Trim any excess wire with the side cutters. Then, wrap the wire around the pliers to form a slightly open loop.
Step 4
Connect to the Ear Wire
While the loop is still open, attach the fish hook ear wire. Then, use the pliers to close the loop securely.
Step 6
Repeat for the Second Earring
Follow steps 1-4 to create a matching earring and complete your beautiful handmade set.
Congratulations you have completed the project!
Your handmade earrings are now ready to wear or gift to someone special. The best part about DIY jewellery is the creative freedom to experiment with different beads, colors, and styles. Enjoy your new accessory and happy crafting!


